
:
Easy 4WD Maintenance at Home
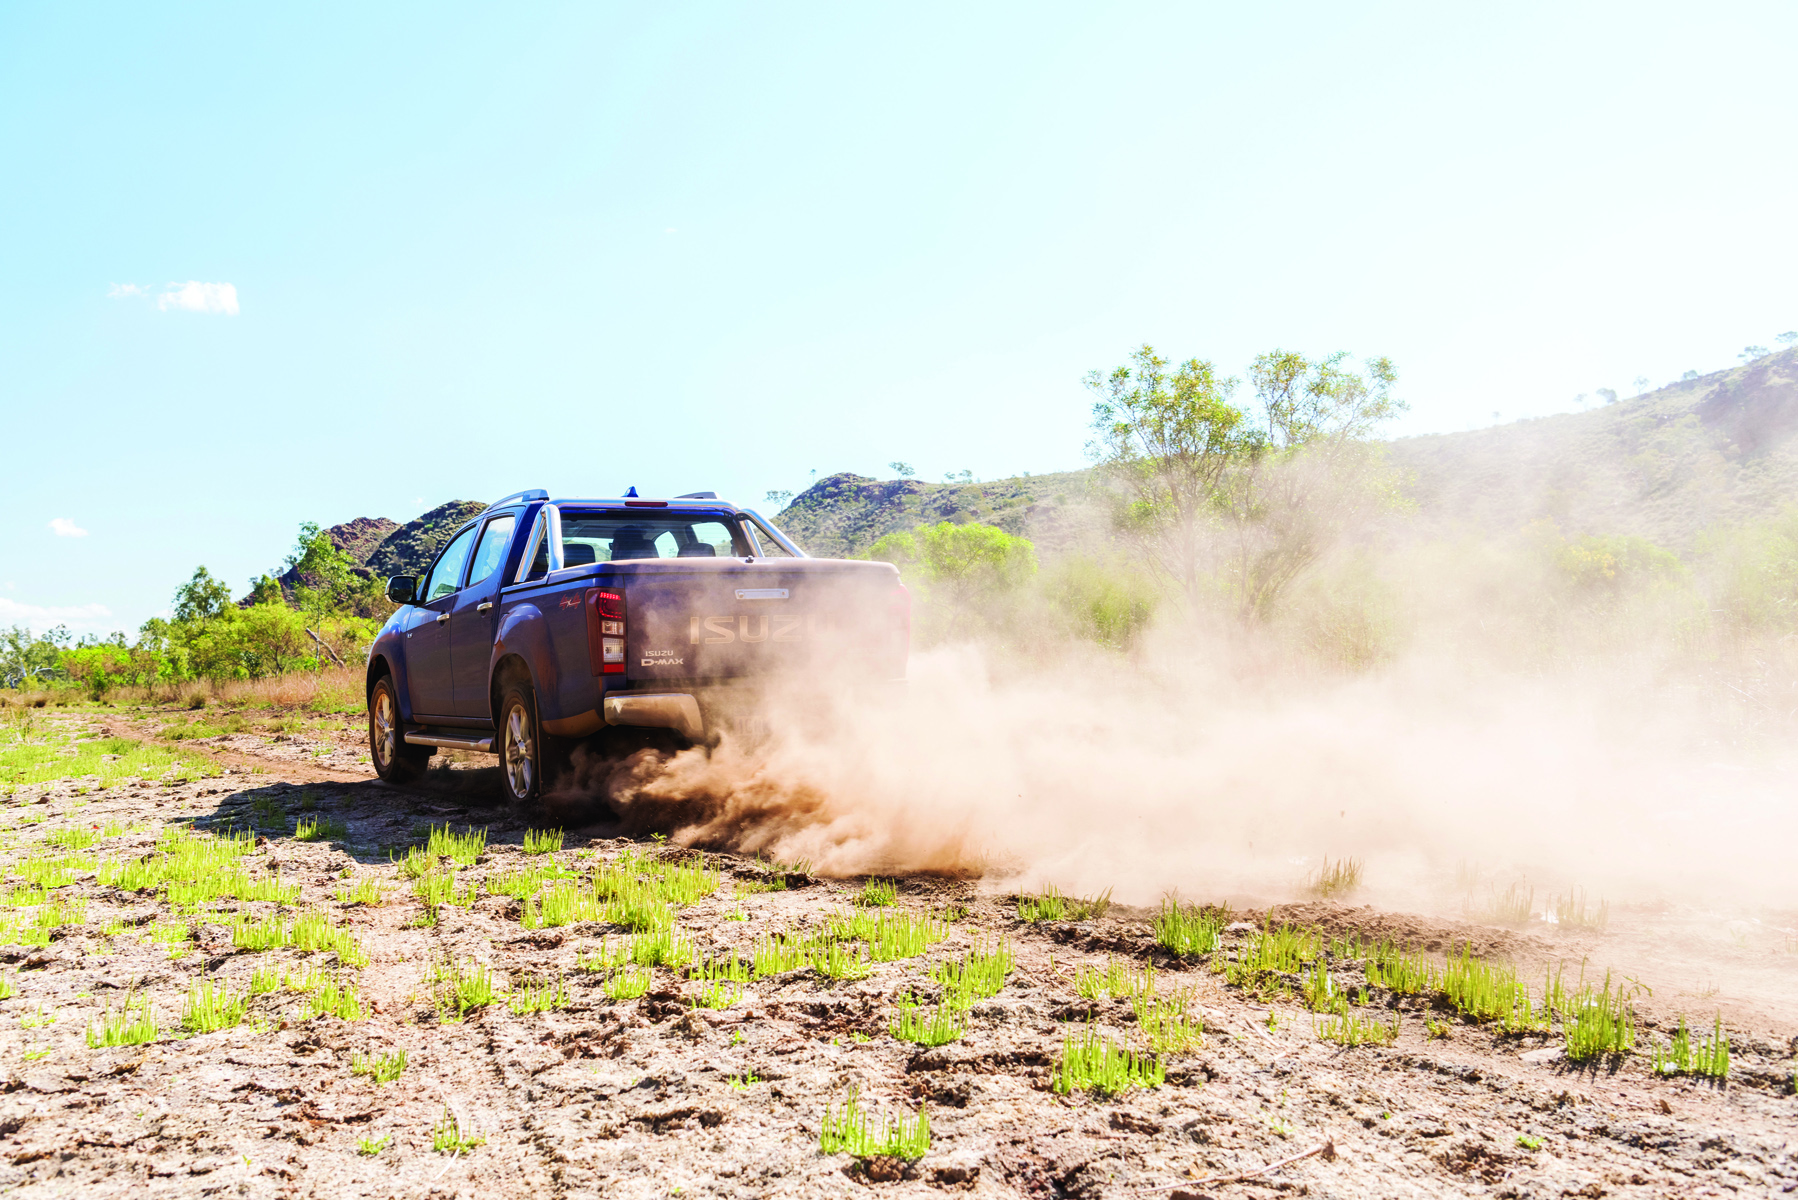
As I write this, we in Australia, like so many in the world, are under strict travel limitations. So for us adventurers and those pursuing outdoor activities, it literally leaves us with nowhere to go. Even the national parks, most recreational areas and large swathes of the country have restricted entry to all these areas we love to frequent.
So with nowhere to point our 4WDs until these restriction are lifted, it’s a great opportunity to take a look at your 4WD to see what needs doing and attend to small jobs that are easily achievable by those with even just basic mechanical skills.

BEGIN WITH THE BASICS
When I sat down to write this article, my main objective was to address simple jobs that require little skill and few resources. I also wanted to give you guys suggestions that would help fill in a few days during your isolation at home.
The caveat was that I assume that you have some fundamental tools, but if not, then I suggest the following tools as a basis to build on as your needs increase and skills improve.
First though, I’d like to emphasise that your 4WD of choice was probably an expensive outlay and continues to be so. So make sure the tools you have are of good quality and fit for purpose. Not much use taking a knife — and a rusty one — to a gun fight.
I personally only like tools from leading manufacturers. There are many quality lines that perform as expected for the job on hand. For the vast majority of vehicles, the metric standard will cover you but there will be occasions when imperial sizes may be required, especially for some older vehicles and occasionally for fitting some aftermarket accessories. Luckily for me my US-brand vehicle is finally setting metric as their standard too.
Let’s start with a set of open and closed spanners that range from 8–21mm, though I’ve had need to use up to 24mm for some suspension components. Opt for the ratchet style as they are just so handy and quick to use, even though they’re a little pricier.
Next a ½ inch socket set with a similar size range is essential. Make sure they’re chrome vanadium steel for added strength. Back this kit with a ¼ inch set for the smaller jobs, which usually range from 4–13mm. I've also got my hands on some longer extension bars to access those tricky areas; as well as a 450mm ½ inch breaker bar, which I sourced for $30. That comes in very handy to remove stubborn bolts by improving leverage. A varied set of screw drivers consisting of flat and Phillips-heads will get used a lot. You’ll also need an assortment of hand tools such as pliers, snippets, vice grips and a Stanley knife as a minimum. Many modern vehicles use allen keys, so get your hands on a set of these too.
These suggestions are just for starters. You’ll find as you learn more about your vehicle or trailer what else you may need. I’d guess that you should budget for at least $250 to start your new mechanical career.
The final tool that I highly recommend as essential is a ½ inch torque wrench. Mine is rated 10–150 Ft-lb (13.60–203.50 Nm) and cost me just under $70 a few years ago. It’s really important to ensure all bolts and nuts are torqued to the right specifications as stated by the car manufacturer. It should be easy enough to track down your 4WD’s specifications online, just as I did.
WHAT TO DO
Here are a few quick and easy suggestions that can be done in your driveway, especially before undertaking long trips or tackling rough roads.
Air Filter
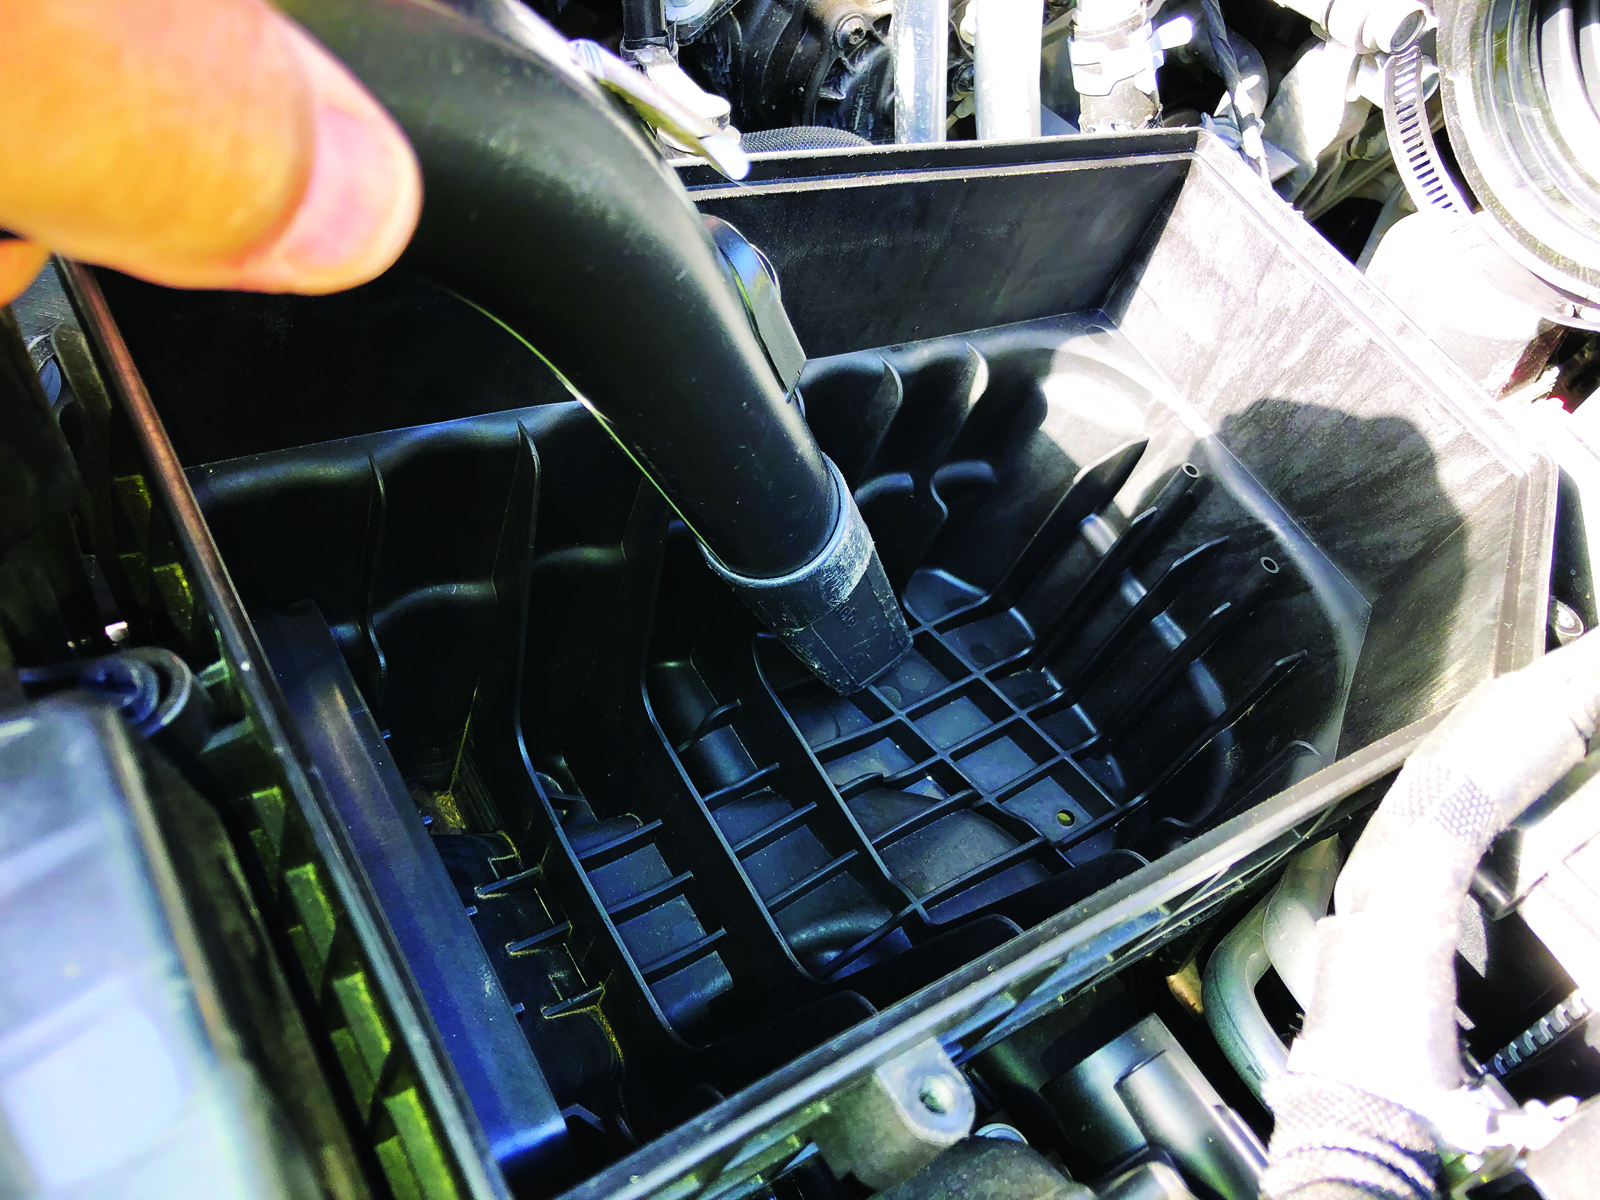
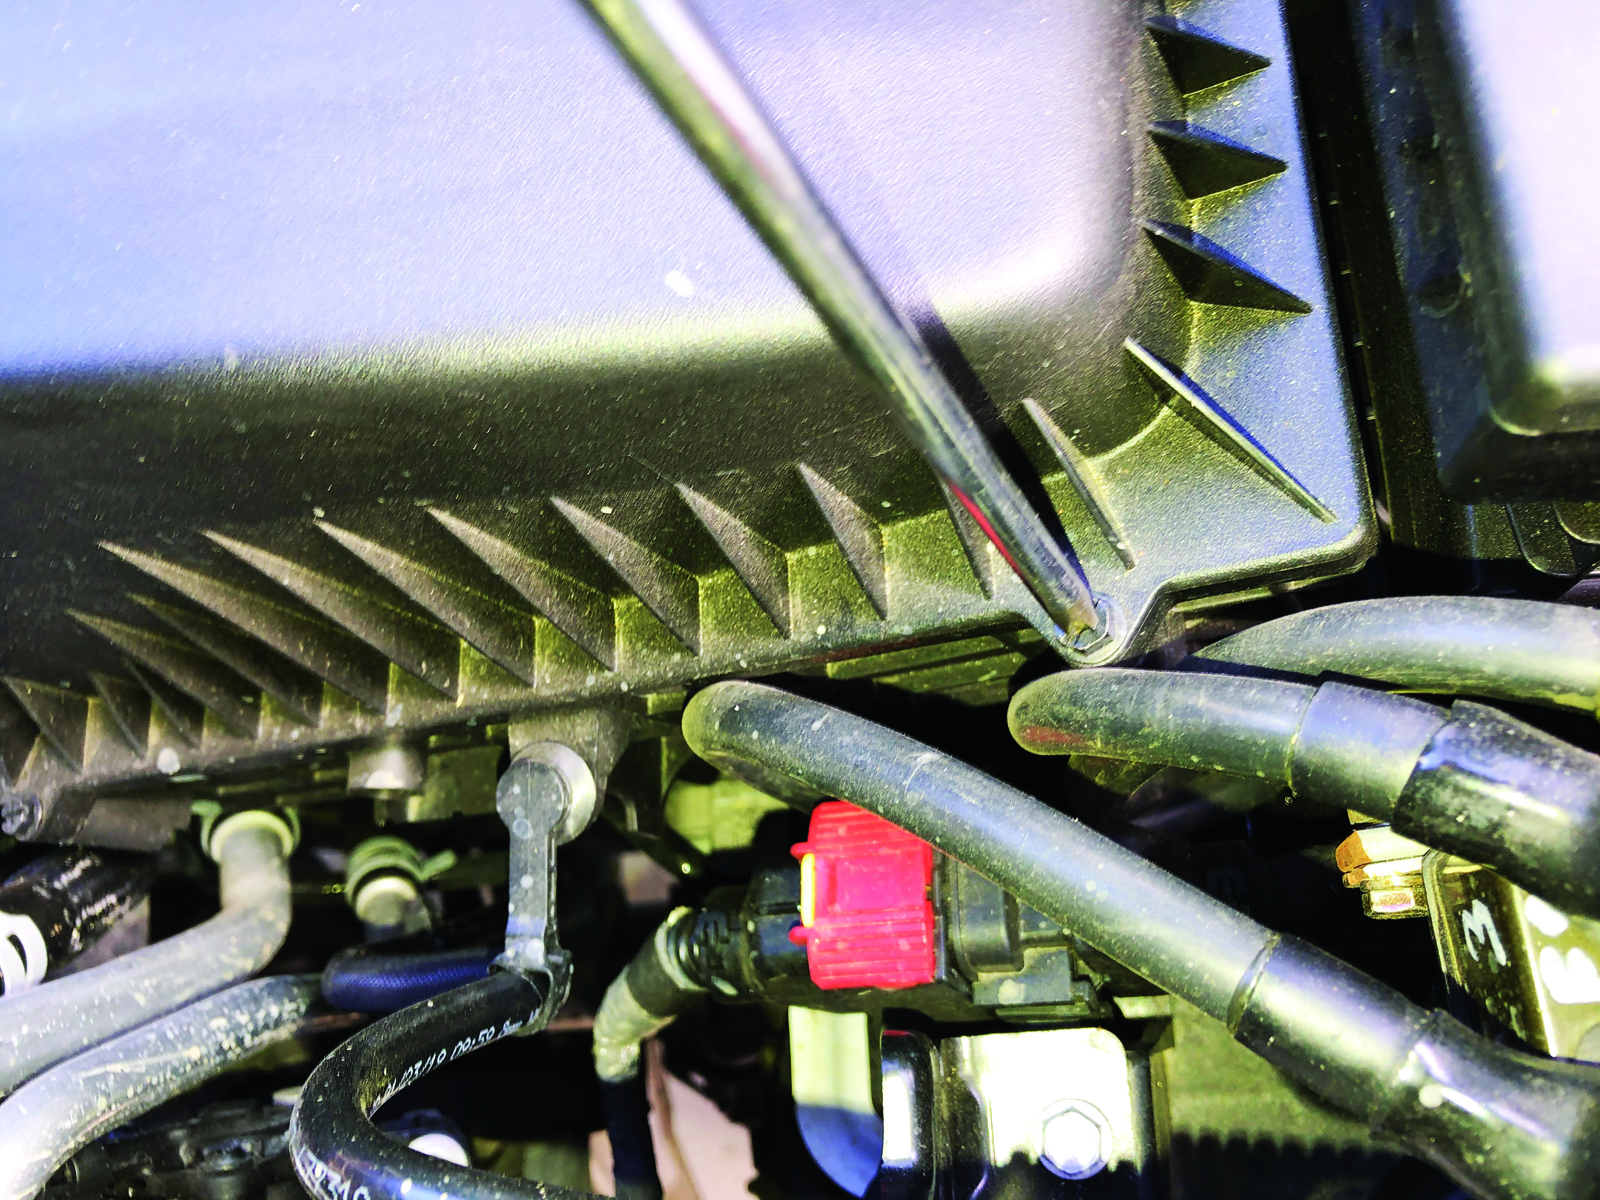
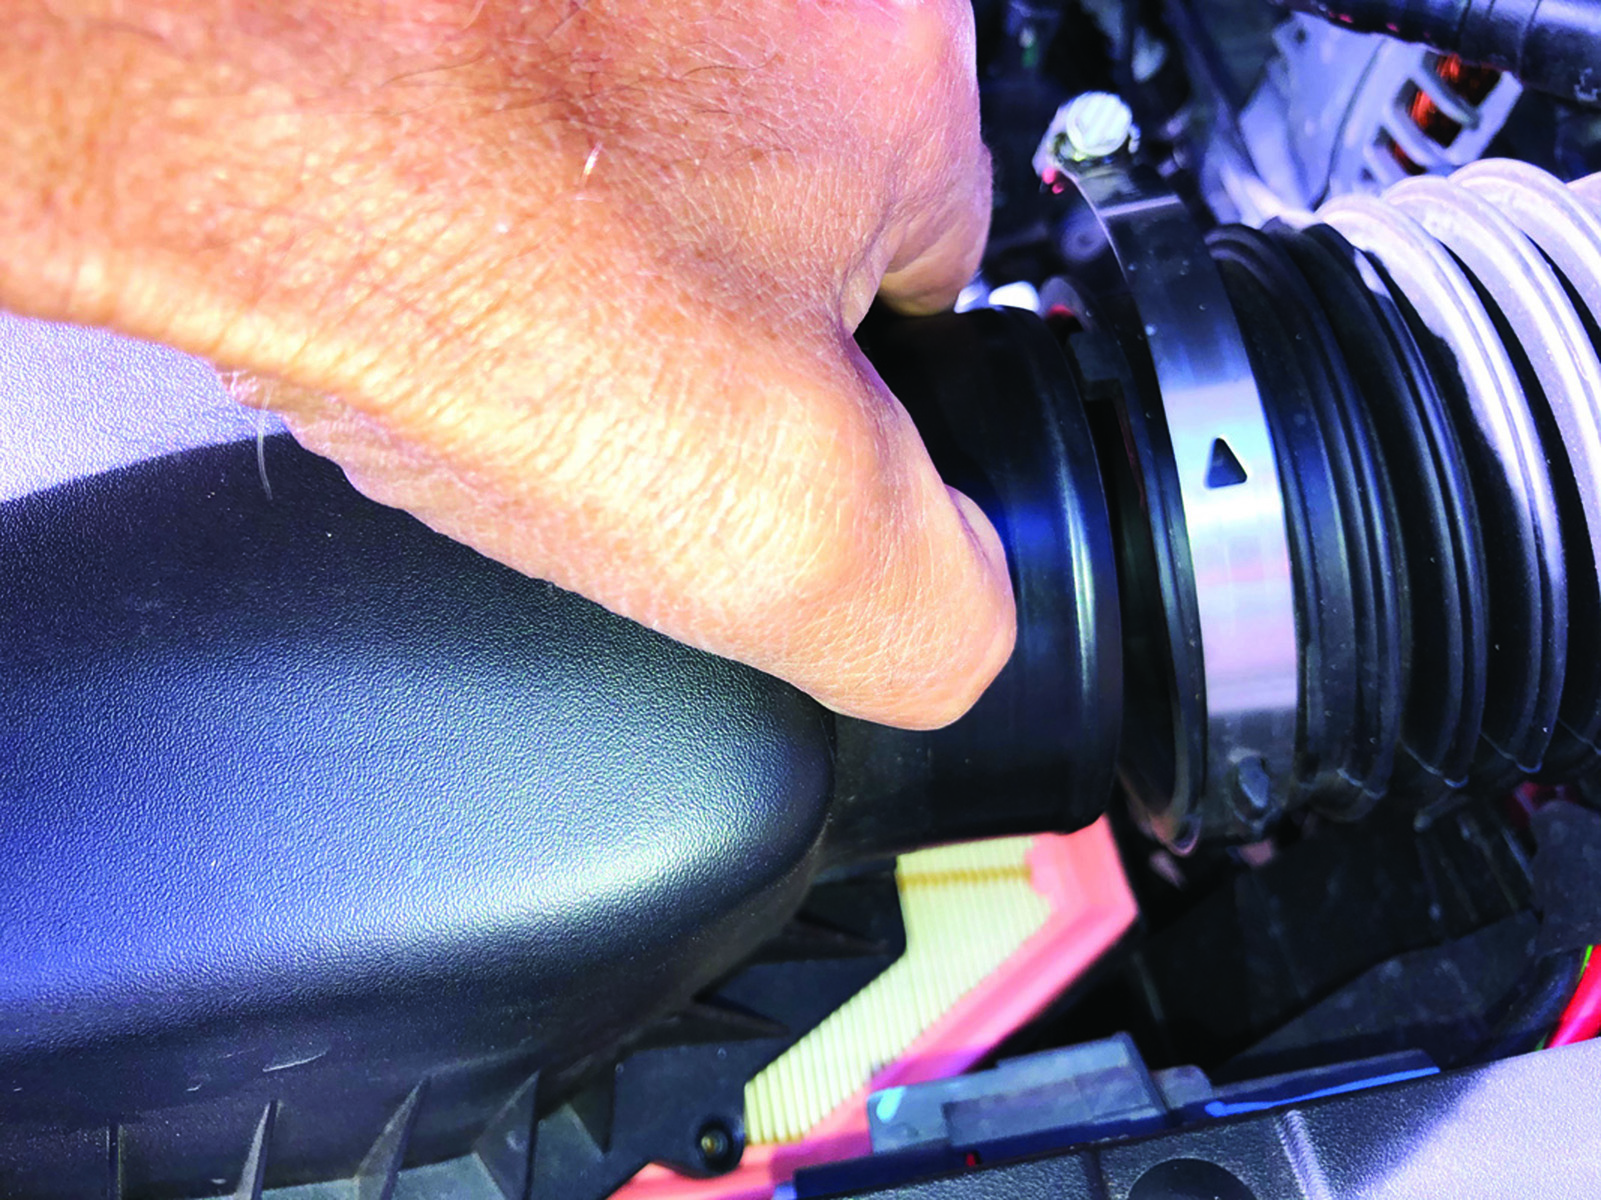
This is one of the easiest tasks to perform, using simple tools and in some cases none. A cleaner filter should improve engine performance and economy, and will protect the engine. Of course, you’ll need to source a quality filter. This doesn’t necessarily need to be OEM, just as long as it’s a reputable brand. A Toyota Hilux for example, would range around the $25–35 mark for a good filter. Most filters housed in the air box are either flat or conical shaped. Removing the top cover should expose the filter for easy changeover. I always take time to vacuum any debris and wipe out the interior and edges for any dust. If it’s really dirty, I’ll remove the whole air box, taking care of any attached sensors, and wash it out. Make sure it’s completely dry before reinstalling and ensure the lid sits snugly in position and any sensors are firmly re-attached.
Cabin Filter
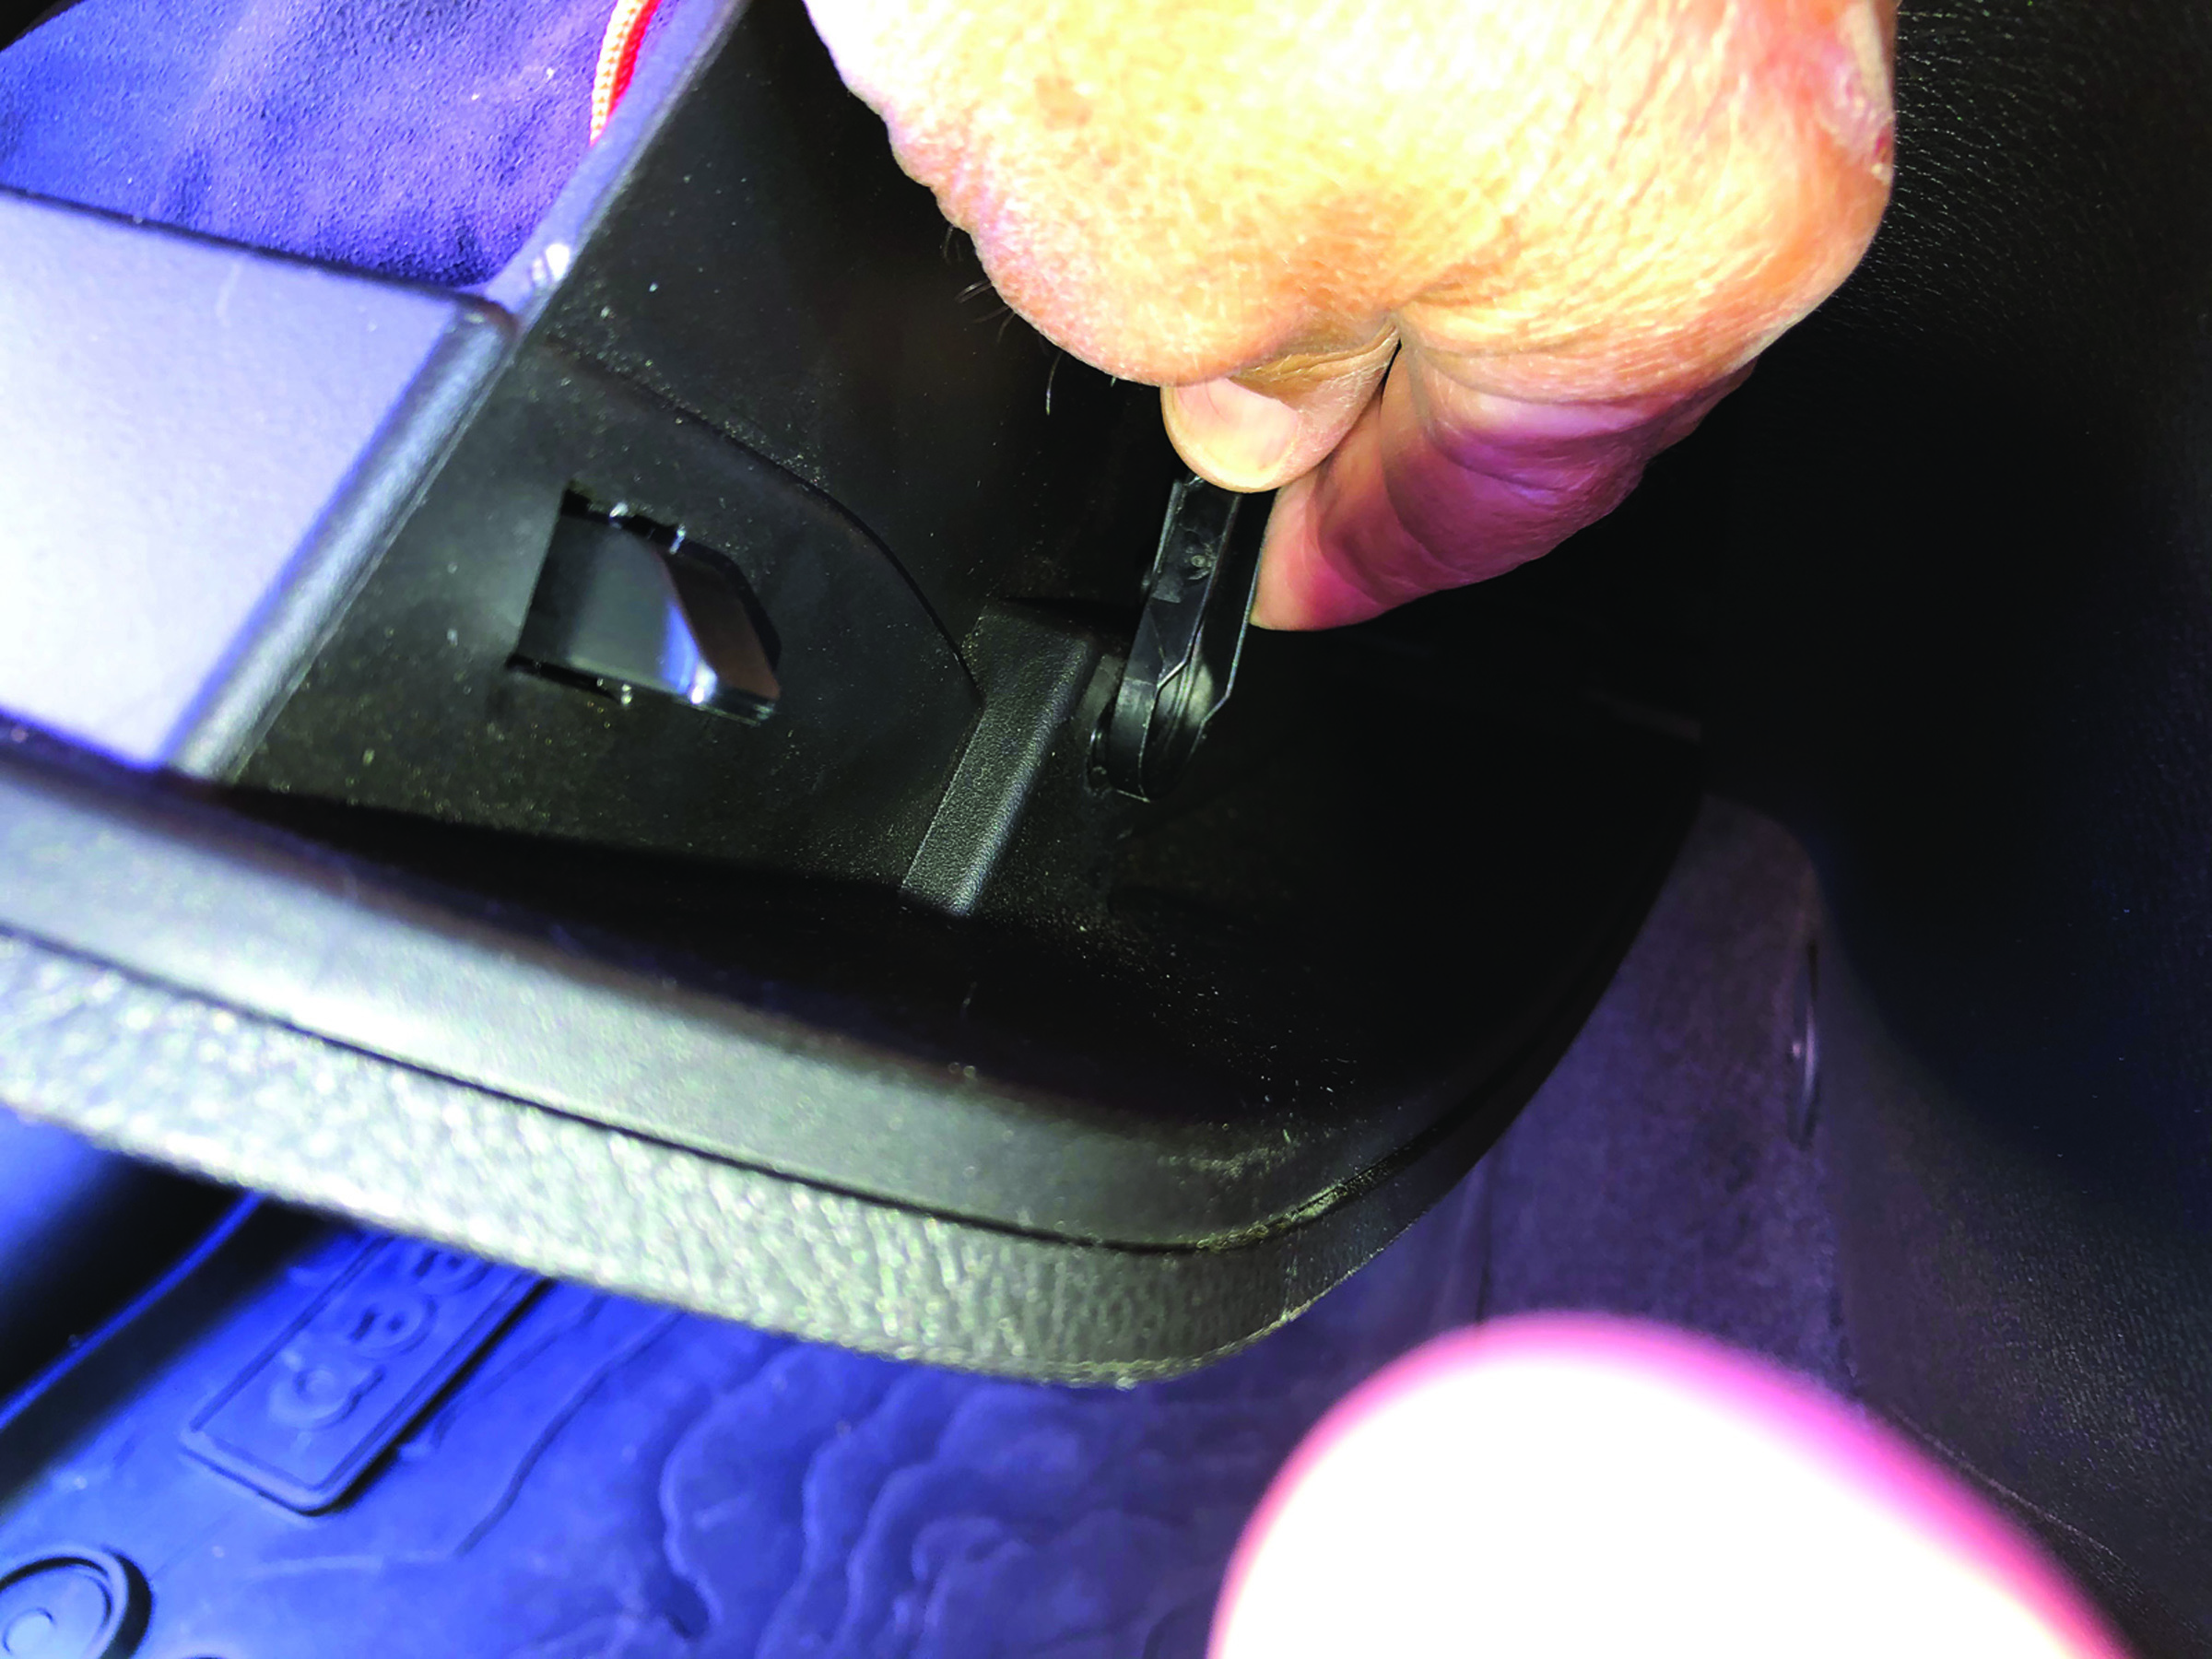
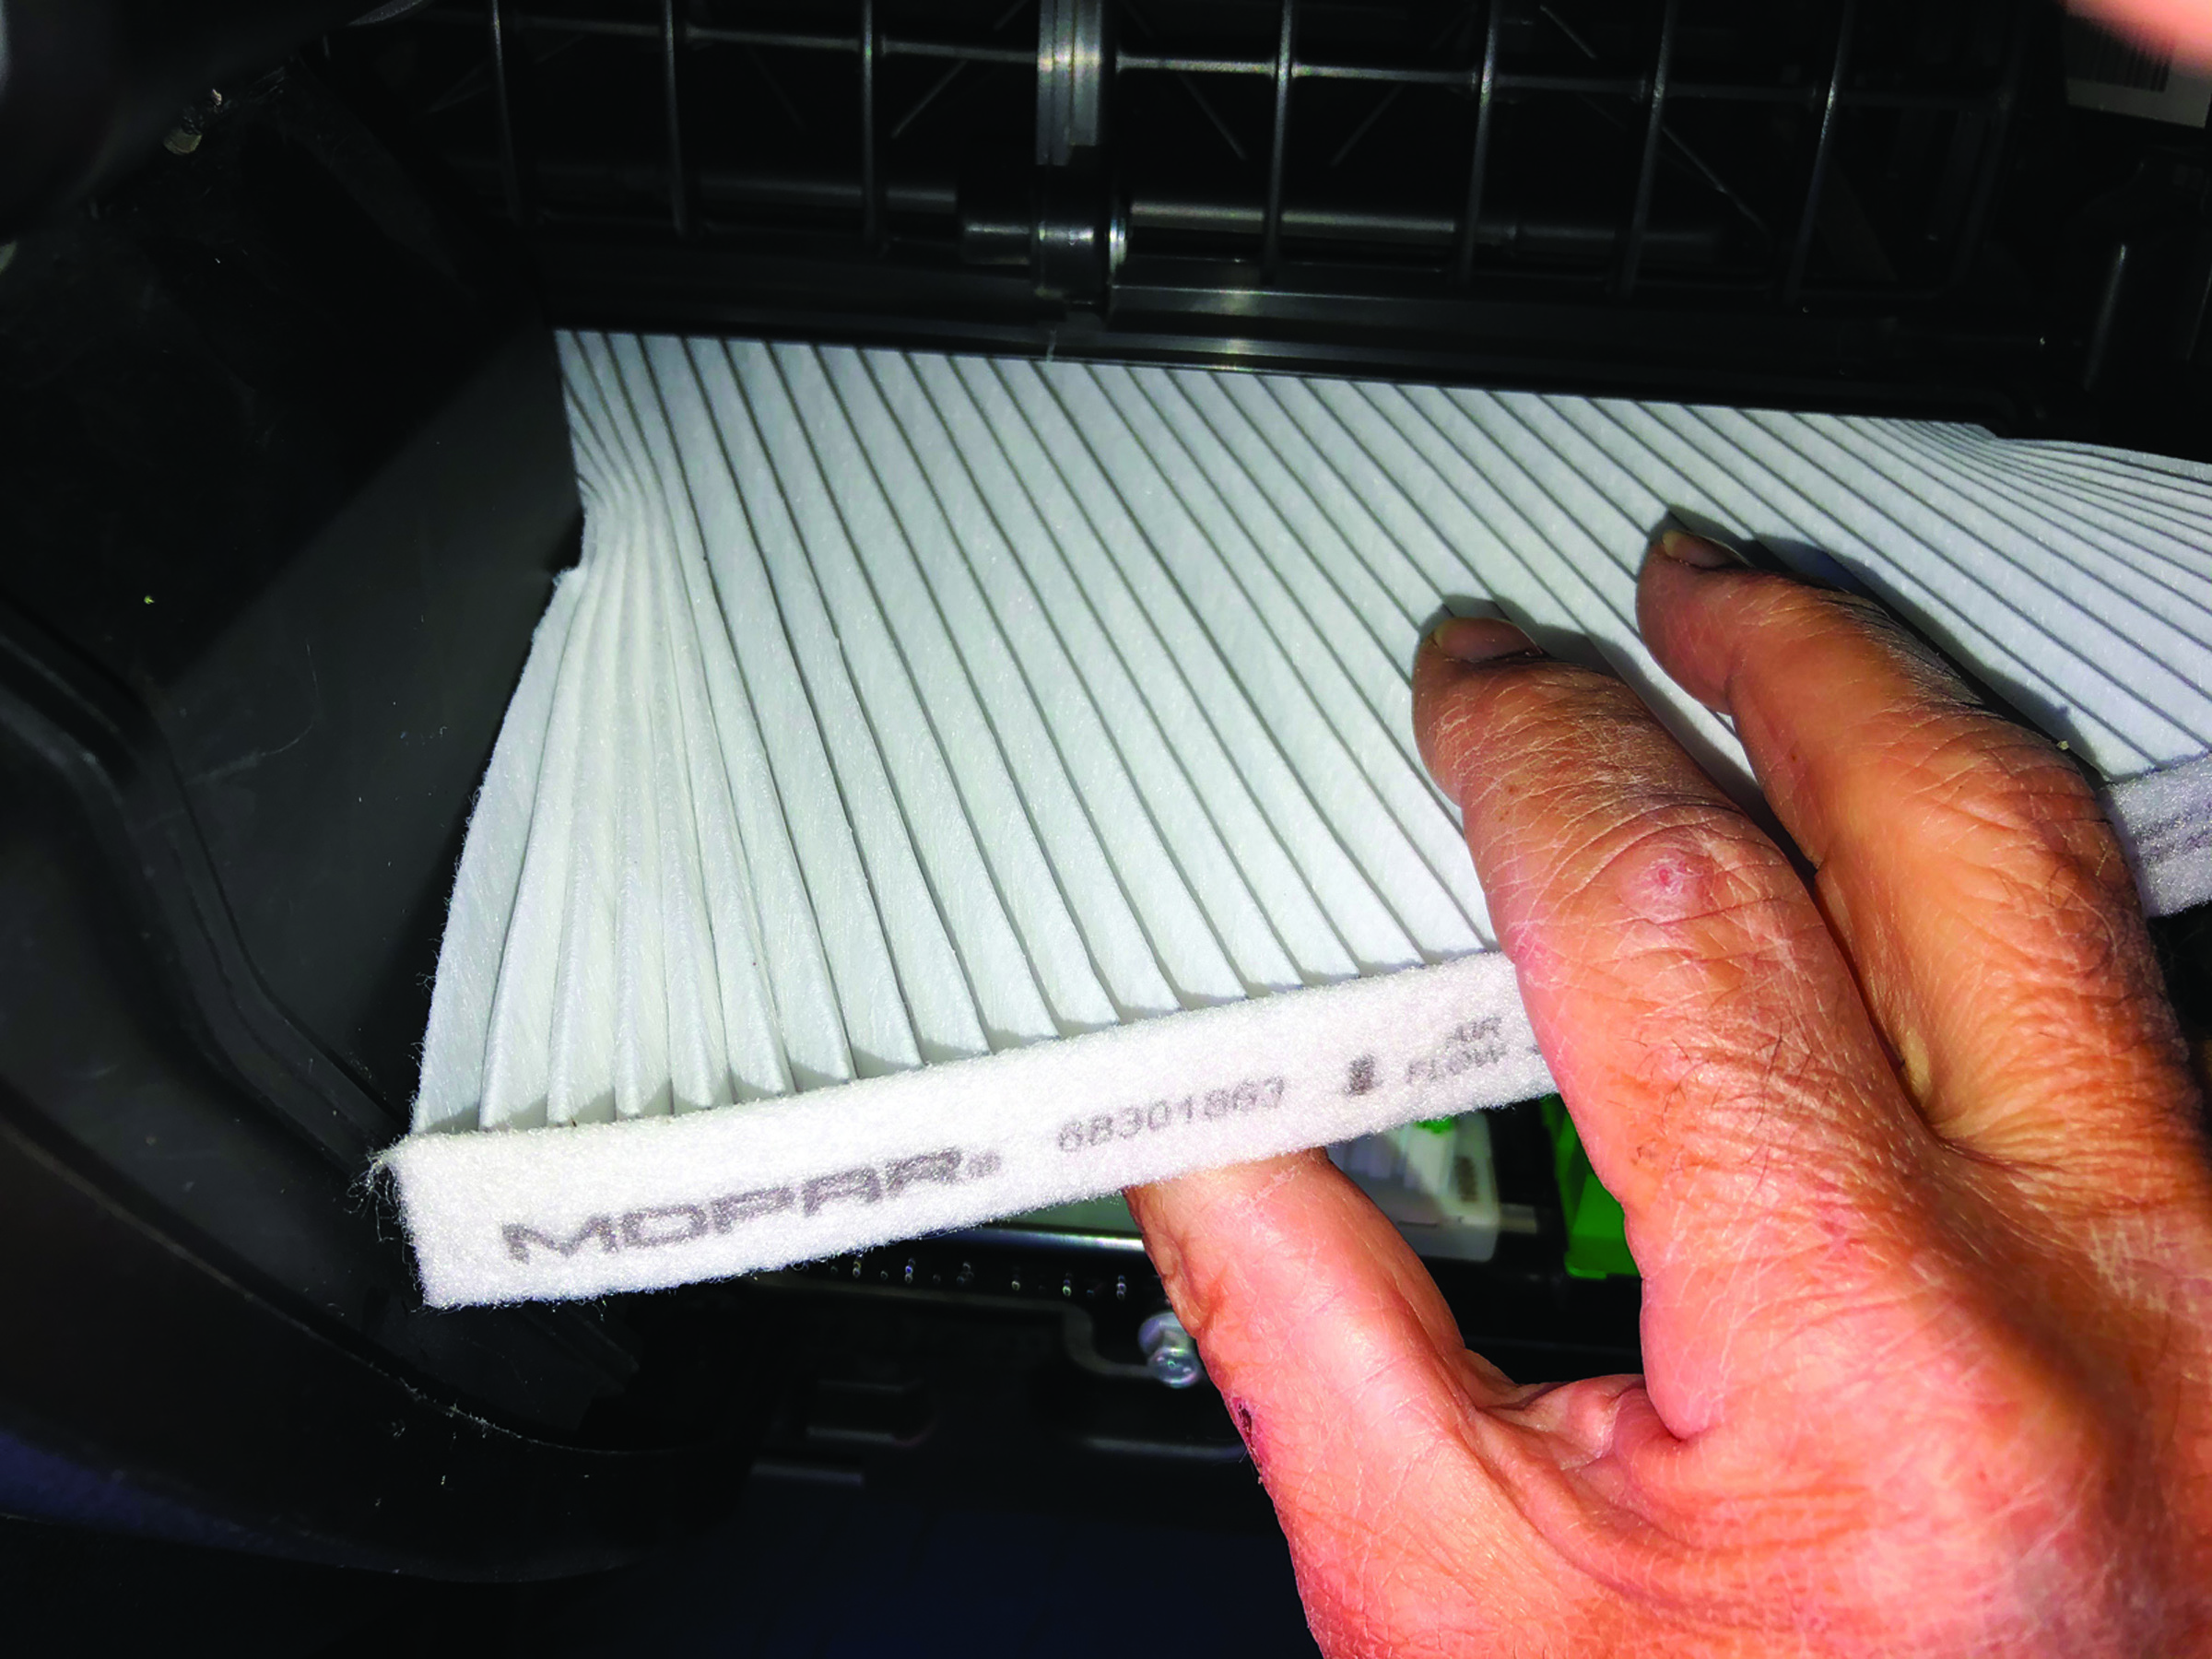
Talking of filters, an often overlooked one is the cabin filter. Not many people know that most modern 4WD’s interior airflow passes through a paper/synthetic filter. I’m not familiar with every model’s design, though you’ll generally find them hidden behind the glove box. Removing the glove box lid is the usual process to allow access to the filter. There are dozens of online videos to show the right processes for changing a cabin filter for your model of 4WD, but it usually just requires sliding out the old filter and replacing it with the new one. From what I’ve seen, for most models it takes just a few minutes with no tools required, just as mine did. Make sure it’s oriented the correct way when inserting the new filter. You should easily source a quality filter for well under $25. As a hint, some models won’t allow you to remove or add a filter unless the vehicle is in recirculate mode and ignition is on. Check your user manual.
The Patient Winch Rope
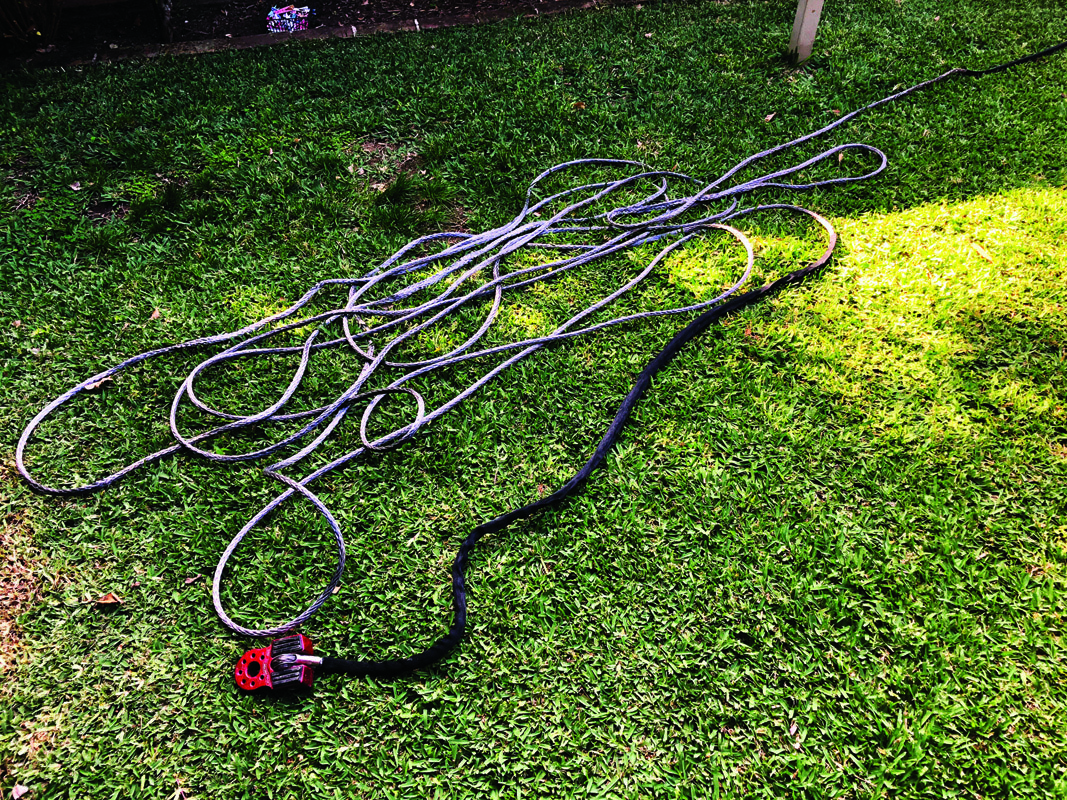
One accessory that gets neglected is the electric winch or rather the winch rope for this next task. There it is, sitting patiently until the moment you really need it, so it needs to be looked after. I’ve spoken in a previous article about how to maintain and clean your electric winch, which you can re-read or get a back copy of. I’ve had the same Warn winch for over 10 years, so it was time to take care of the five-year-old winch rope. I decided to replace the rope with a new Dyneema synthetic rope to ensure there were no weaknesses in my favourite recovery tool. Hunting online, I sourced 26m of 10mm rope for around $76. After unspooling the old rope and cleaning up the drum, I used a new short bolt to secure the end of the new rope to the drum. Then under as much tension as I could muster, I evenly wound the new rope on and secured it in place. I was very pleased with the result. This should last for many more years as long as the rope is not overly damaged during one of the more testing tracks. By the way, it’s not necessary to get as much rope on the drum as possible as there is less pull/torque as more layers are added. I usually recommend keeping it under 28 metres.
Diff Breathers
Another task I’d been putting off is a little more interesting and requires a little dexterity under the chassis. There are four components of a 4WD that are usually fitted with breather tubes/hoses — the engine transmission, transfer case and each of the differentials/axle. The hoses allow air inside these sealed components to escape as heat builds up and to intake air when cooled, like during water crossings, thus preventing water ingress. Water mixed with these oils is definitely not a good thing.
Most 4WDs will have some sort of breather hoses but they’re rarely long enough and some can be just a few inches. My suggestion is to ensure that both axle breather hose ends are set well above any possible water line.
It’s a simple job to replace the existing hoses with longer ones. In my case I needed to route about 2 metres ($34 for 4m of 5/16” fuel hose) from each differential to a higher position. I’m not a fan of commercial plastic hoses due to their rigidity/stiffness.
My existing hoses simply fit over barb connectors attached to the top of the axle tube. In some cases it may be on top of the housing itself, it just depends on your model 4WD.
I removed the hose clamp which allowed the old tube to simply slide off by hand. Next I unclipped a few mounting points and saved the end valve/filter to be re-used.
For the front, I routed the hose up to under the hood and the rear was sent high into the right tail-light assembly. I’m sure you’ll find a million possible paths for your situation that will do the job.
Make sure there is enough slack in the hose near the axle ends to allow flexibility during suspension articulation. Use appropriate cable-ties to secure them and slide the end valve and hose clip in their place.
UHF Microphone Bracket
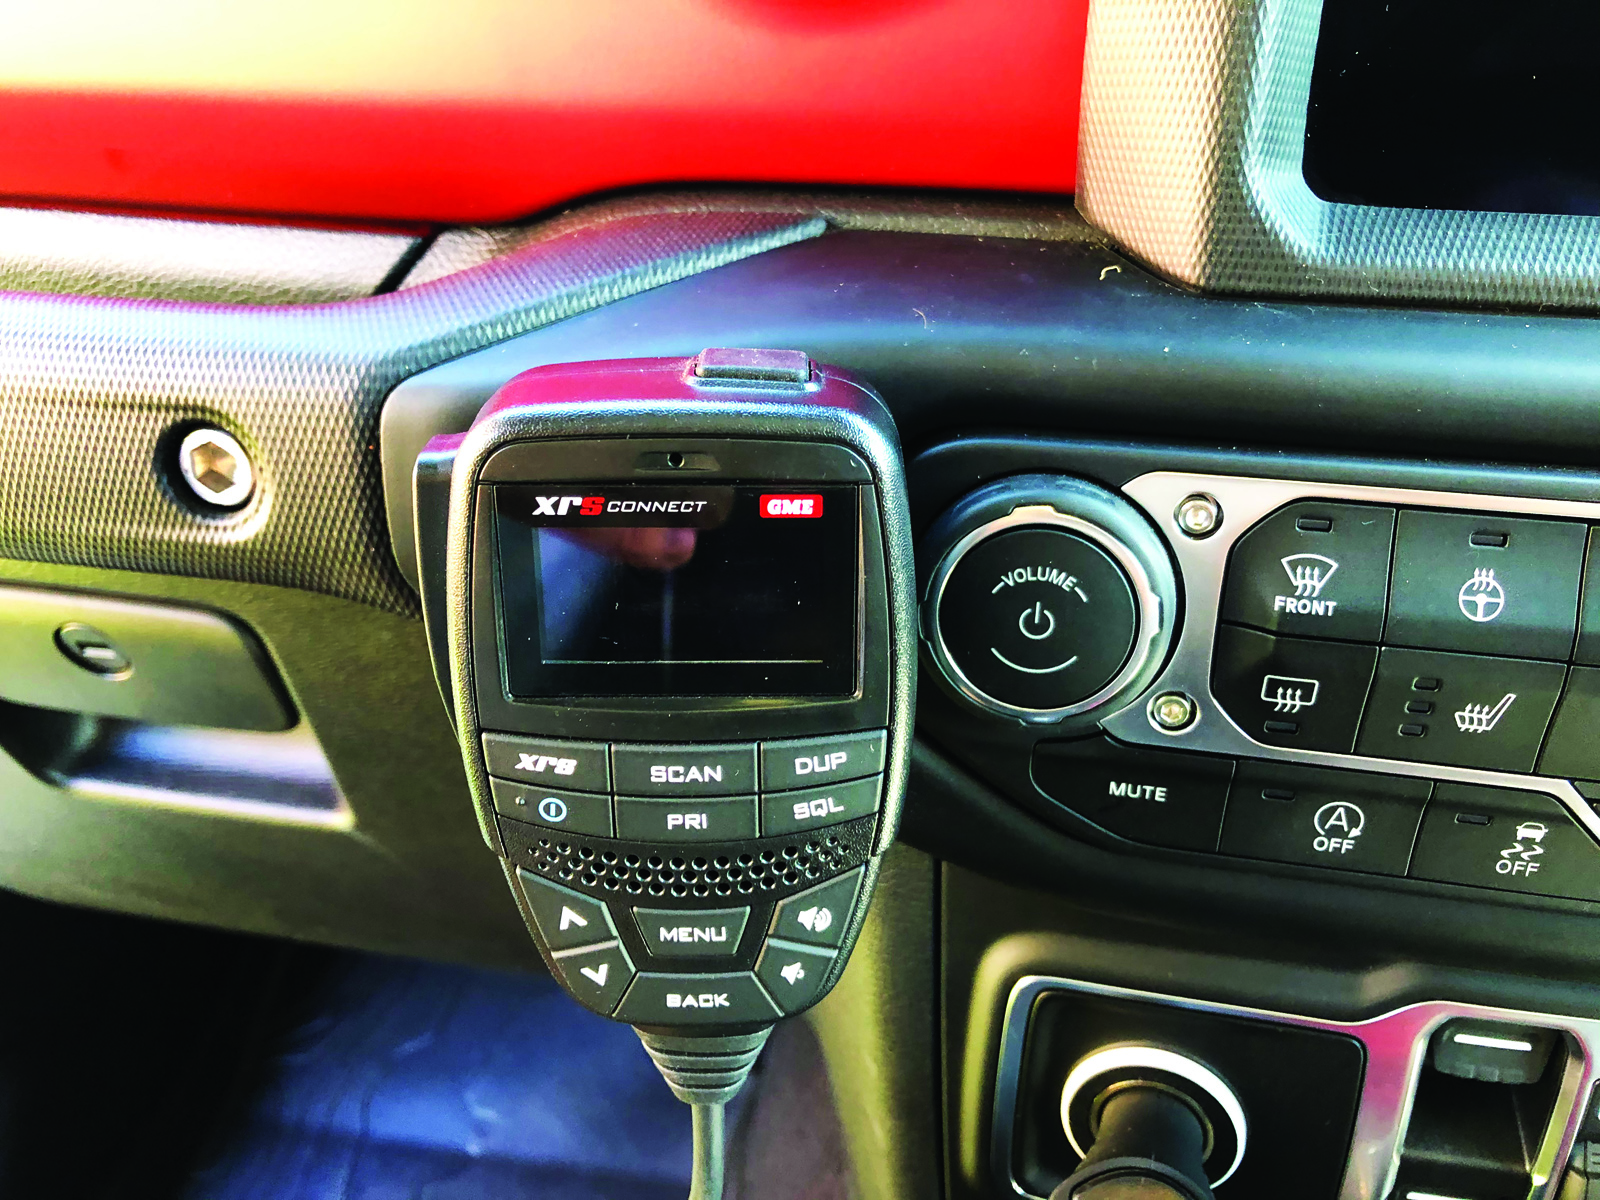
Like most 4WDers, I have my trusty five-watt UHF radio to keep in touch with fellow travellers. In my case I use a GME XRS 330 hideaway model. This unit is fantastic. It has the main body hidden under the dash and the controls on the handset. This is a great design, though the handset is naturally a little heavier than my previous old style GME microphone. This made the handset coupling tricky to manage, as it rattled and moved around on rough roads. GME had the novel idea of using a magnetic coupling that you attach to the handset paired with a new fascia mount. I found this system to be excellent using just the supplied double tape, which avoids any drilling, though screws can be incorporated. No more taking your eyes off the roads when reattaching, as it just clicks firmly into place. It set me back about $25 and took all of two minutes to install.
READY TO RIDE
I hope you found these suggestions helpful and inspiring. They, like many other small things you can do to your 4WD, will help you better understand your vehicle, which can only be a good thing. It should swallow up a few days hunting for the right parts at the right price online then installing them all. Just remember to recheck your work after a few hundred kilometres to ensure all is working as it should.
All this while we are all saving a few dollars by doing it ourselves.
Happy Wheeling.


0 comments